Let’s clear up a common misconception—headlight fogging is just cosmetic. It’s not. Cloudy headlights can reduce visibility by up to 80%, especially dangerous for daily drivers commuting in early mornings or late nights. And yet, many sedan owners put off restoration because they assume it’s expensive or time-consuming.
Here’s the truth: car detailing headlight restoration doesn’t have to be a hassle. With a few budget-friendly tools and some elbow grease, you can dramatically improve your lights—and your safety.
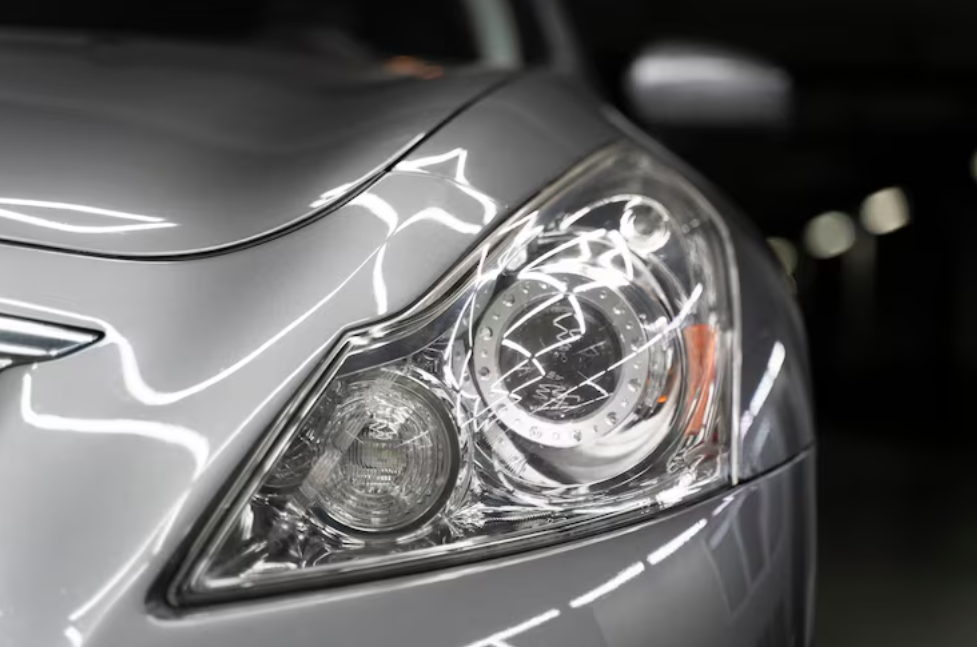
Why Are Your Sedan’s Headlights Fading So Fast?
Blame the sun, road debris, and time. Sedans like the Toyota Camry and Honda Accord—popular daily drivers—often suffer from UV yellowing and oxidized polycarbonate lenses. These symptoms don’t just look bad; they kill nighttime visibility.
According to a 2025 report by AAA, nearly 9 out of 10 vehicles on the road have headlights that produce less light than new ones, drastically compromising driving safety.
DIY Headlight Restoration That Actually Works
If you drive your sedan daily, you don’t need a showroom finish—just clarity and consistency. Here’s a quick breakdown of fast, DIY restoration methods you can do in under an hour:
| Method | Tools Needed | Time | Cost |
| Hand Sanding | 800 to 3000 grit sandpaper, water | 25-30 mins | $10-$15 |
| Plastic Polish | Microfiber towel, polish (e.g., Meguiar’s) | 10 mins | $10 |
| UV Sealant | UV protectant spray or wipe-on formula | 5 mins | $8-$12 |
Combine these three for best results—sand, polish, then seal.
Feeling Skeptical? Here’s What You Need to Know
Still unsure if it’s worth the effort? Ask yourself:
- Is your night driving visibility declining?
- Are your headlights yellowing or foggy despite regular washing?
- Do your headlights look older than your car?
If yes, then yes—this quick fix is for you.
And here’s a secret: professional-level clarity doesn’t always require professional help. But there’s a catch…
Why Does Your Headlight Get Cloudy Again After Cleaning?
(You’ll find out how to stop that cycle below.)
Plastic Polish vs. Sandpaper: What Works Better?
This depends on how far the damage has gone. For light haze and surface grime, plastic polish alone might do the trick. But for deeper oxidation—the type that looks cloudy or yellowed—hand sanding is your go-to.
Skipping sanding often leads to results that fade within days.
Here’s the trick: start with 800-grit sandpaper, keep it wet, and move up to 3000-grit before applying polish. This smooths out the lens surface and preps it for sealing.
Which Step Most People Skip (and Regret Later)?
(Hint: it’s not sanding or polishing…)
Seal It or See It Cloud Again
This is the most forgotten step in car detailing headlight restoration. UV sealant is your long-term protection. Without it, sunlight will re-oxidize the lens in a matter of weeks.
Choose a ceramic-infused or polymer-based UV sealant. Spray or wipe-on formulas both work—just apply it after polishing and let it cure fully. Some brands even last up to 12 months.
What If DIY Doesn’t Cut It Anymore?
(Read on to see when it’s time to call in the pros.)
When to Call for Professional Detailing Help
If your headlights are pitted, cracked, or heavily oxidized, it’s time to consider pro help. At this point, your light output could be dangerously low. This is where services like XLNC Auto Beauty come in—customizing car wash headlight restoration for your sedan’s exact needs, and even offering ceramic coatings for long-term lens protection.
And yes, we cater to more than sedans. Whether you drive a minivan, SUV, or pickup truck, the process is similar—but larger lens surfaces may require more time and stronger compounds.
Final Thoughts: Your Daily Driver Deserves Clearer Vision
Headlight restoration isn’t just about aesthetics—it’s about safety, confidence, and giving your car the clarity it had on day one. If you’re a daily commuter, every minute on the road matters.
So here’s your takeaway: a little time today can save you from poor visibility tomorrow.
The question is—will you still squint through that fog… or finally clear it out?